Spread the Lovely Idea :)
Now grab a piece of paper and lay it on top of the frame. (You can turn the frame over if you are worried about the “handedness” of your motif, ie it doesn’t have reflective symmetry). Apply dabs of hot glue along one of the short sides of the frame to stick the paper to it. Work towards the other end, tacking the paper with dots of glue- seams are unnecessary and get strands of glue everywhere unless you’re very handy with a glue gun, and the paper isn’t structural so enough to keep it held to the frame is ok.
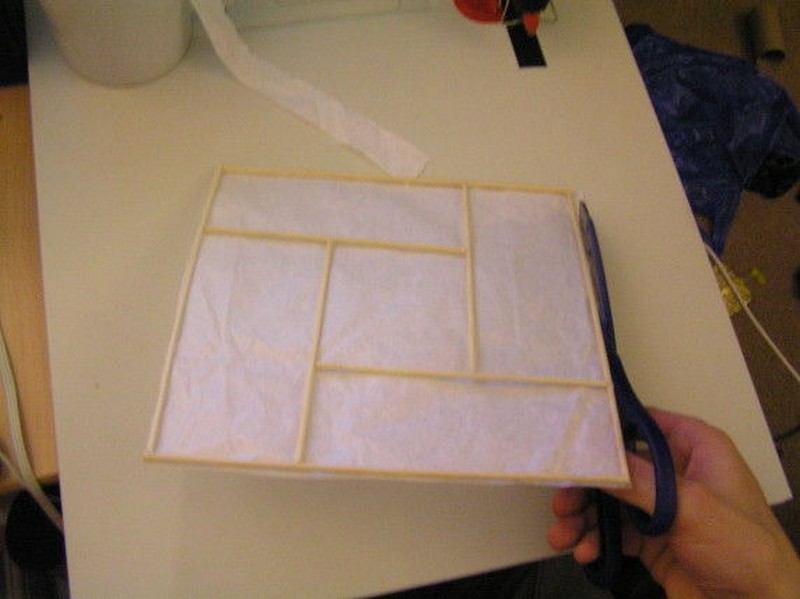
Once the glue is set, trim the paper along the edges of the frame, as neatly as you can because this will be on the outside of the lamp.
Make some more! Yep — time to make three more side panels and a top panel if you so desire, exactly the same way as last time. I made all the frames in one go and then skinned and trimmed them, it’s a little less frustrating if you are only doing one task at a time.
Wire it up: First, strip the outer insulation of your flex a few cm, and strip the individual wires’ insulation about a cm (no more, the more you strip the higher the chance of a short. If there is exposed copper outside the cable connectors you should trim the stripped conductor). Wire one end of the flex into the socket- a plastic batten socket is unlikely to require an earth connection.
Strip the other end of the flex similarly and wire the plug. Check that an appropriate fuse is installed- you should only need a 1 Amp fuse for an 11W CFL, but higher wattages (especially in 110V mains areas) will probably need a 3A fuse. If you have a 13A fuse replace it with a lower value.
Install the torpedo switch close to the socket end of the flex if you desire. You can now plug it in and perform a quick test to check all your electrical parts work- if it’s going to catch fire, better to do it while it isn’t glued into a box made of paper and cardboard.
Click [6] below the advertisement for the steps on how to make the base.


Comments are closed.