Spread the Lovely Idea :)
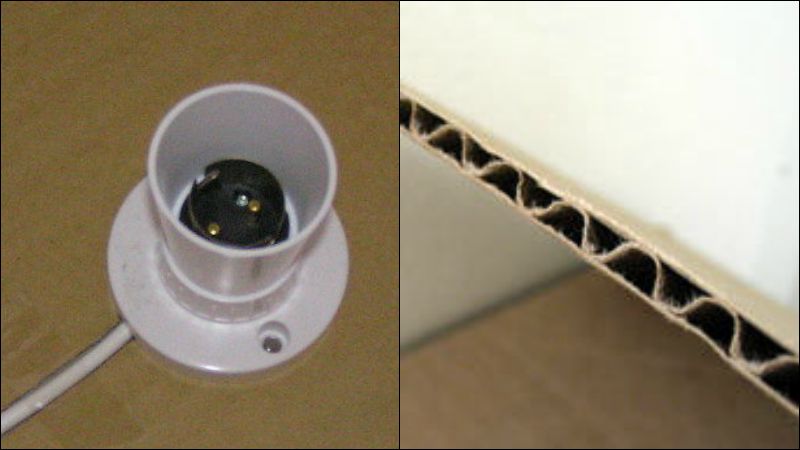
Cut out some squares of corrugated cardboard the same width as the width of your side panels. Laminate them with more glue gun glue, alternating the direction (or “grain”) of the cardboard for maximum strength. I recommend at least two layers of double-layer cardboard or four layers of regular (like in the image).
Cut a shallow groove from one edge of the base to roughly the centre, to accommodate the flex. Glue the batten socket into the middle of the base with the flex in the groove.
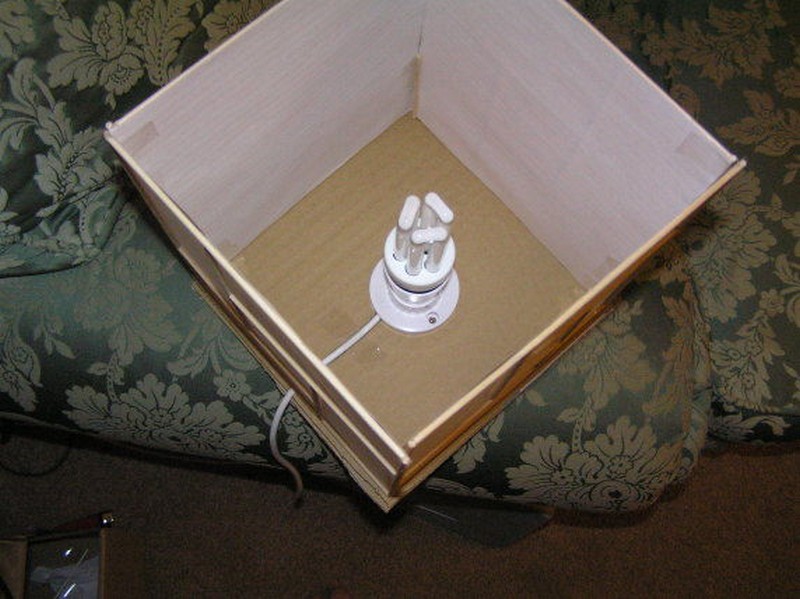
Assemble the sides of the lamp around the base and mark where the corners sit. Now run a seam of hot glue along the inside edge where the base of each side panel meets the base, and up the insides of the side edges. Don’t glue the base on, as you will need to remove it to change the bulb.
And you’re done!
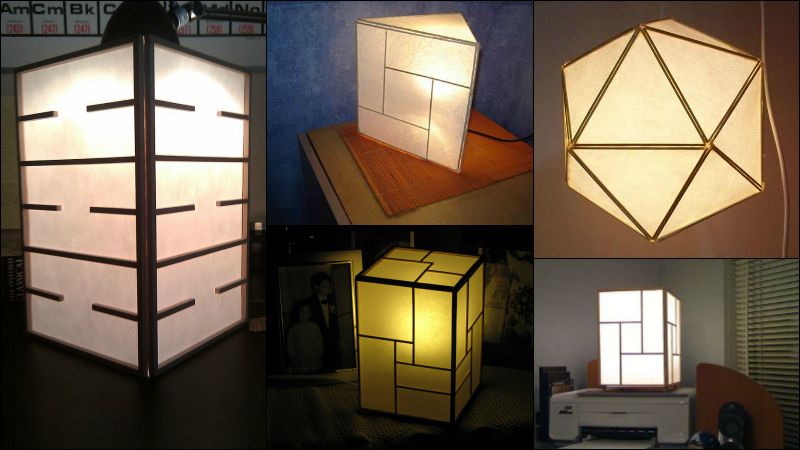
A few notes- the lamp is very light and not very strong, so don’t put it somewhere it will get knocked around. With an 11W CFL it gives a soft glow that is ok to read by but won’t light up a whole room brightly.
Running for an hour with the lid on, the paper on the lid was slightly warm to the touch and the sides were room temperature so it’s probably safe to leave on for long periods, but if you are using an incandescent bulb I would suggest not using the lid.
The lamp is not at all fire safe- don’t even think about using a naked flame or other combustion-based source of light in this rather than the lightbulb. Again I accept no responsibility for what you do outside the scope of these instructions.


Comments are closed.